Adding images to a gallery
After having created a gallery, you need to add images to it.
1. Open the store's administrative panel
2. Go to "Website content" - "Website content" and click on "Image Galleries"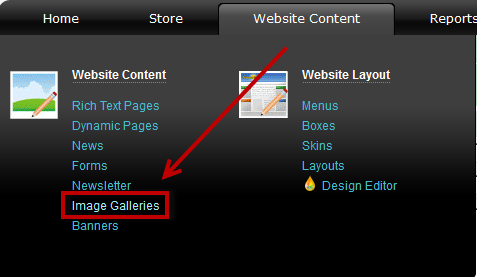
3. Choose the gallery that you would like to add images to and click ![]()
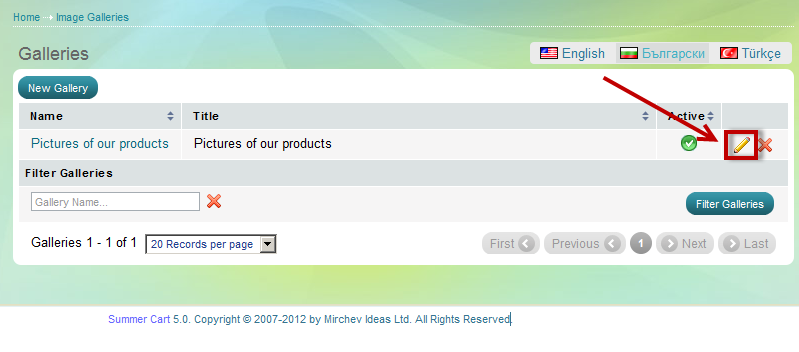
4. The Edit Gallery page opens. There are two ways to add images to the gallery:
a) Import images from folder
- connect to the server via FTP and upload images to the automatically created folder "userfiles/galleries/pictures of our products" (the system automatically creates a folder with the name of the gallery upon gallery creation)
- on the "edit gallery" page click "import images from folder"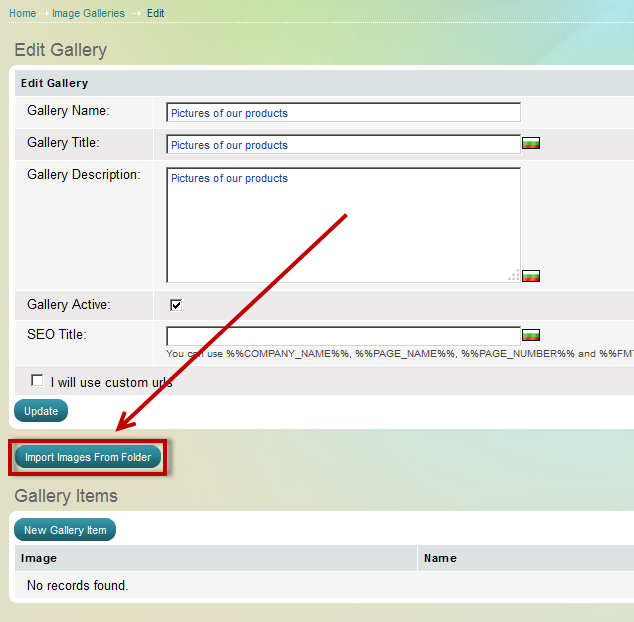
"Import images from folder" page opens
- all the images that were located in the folder are visualized here and you can choose which ones should be imported in the gallery by checking their boxes
- click "Import selected images" when you are ready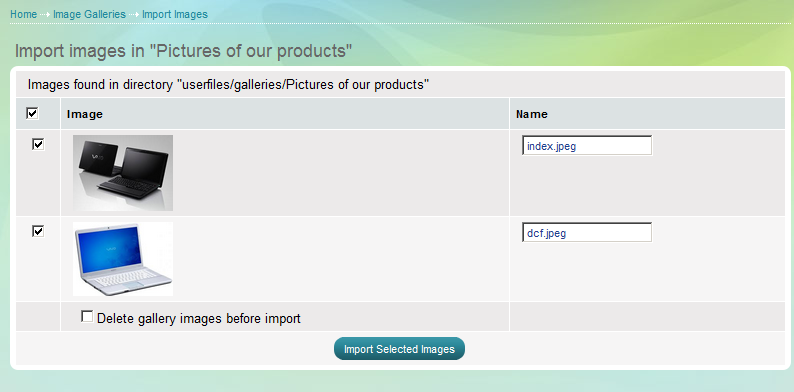
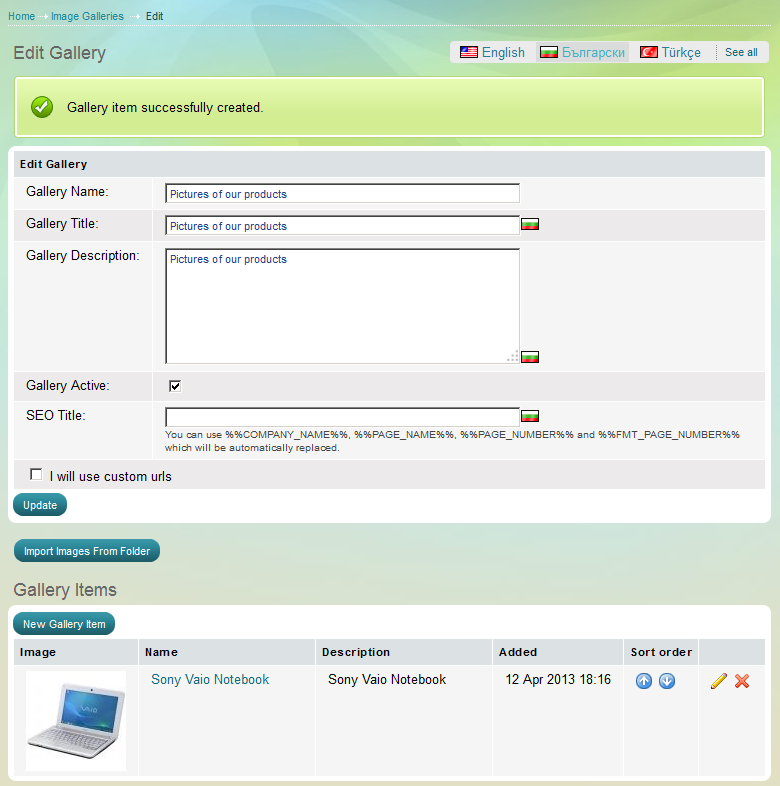
When the system has imported all the images into the gallery, you will see the following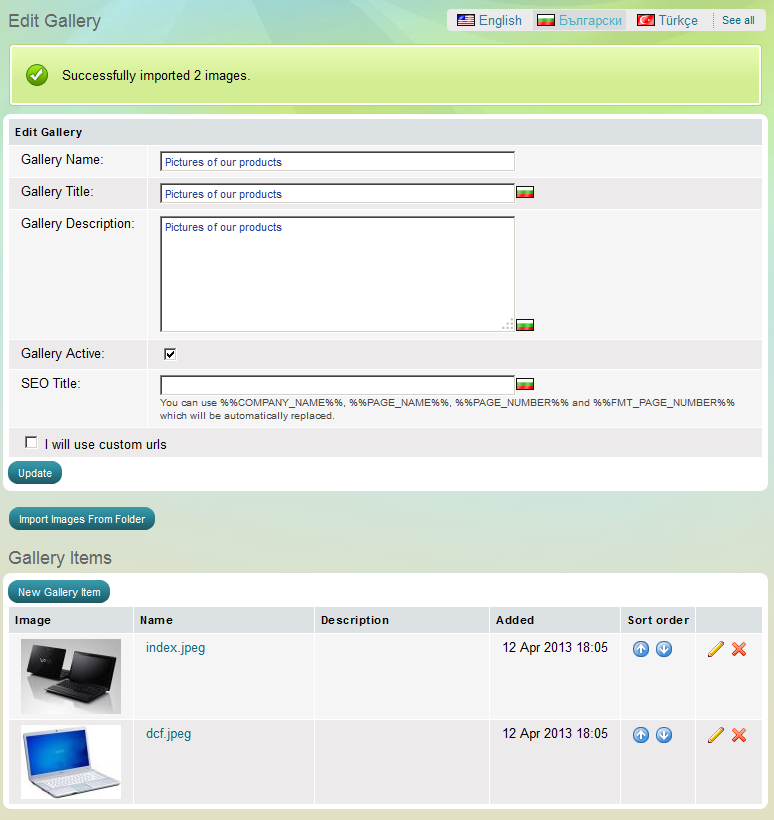
b) manually
- click the "New gallery item" button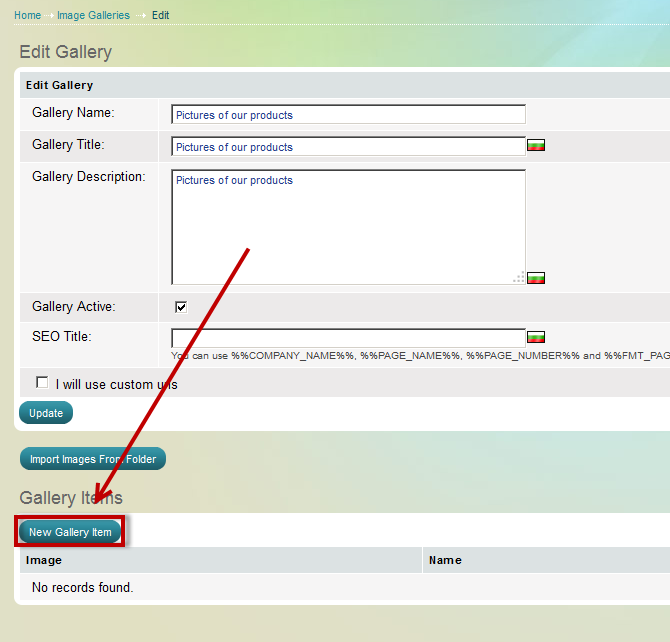
- the "Create Gallery Item" page opens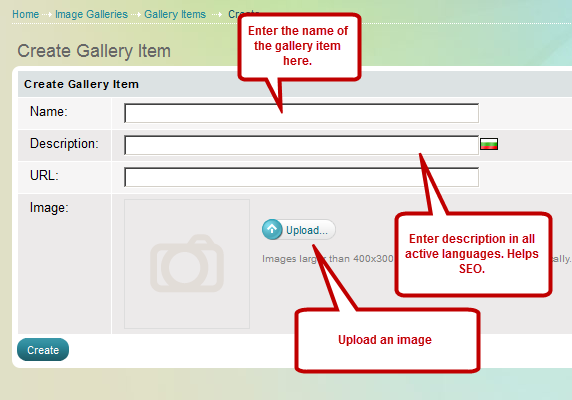
After you have clicked "Create", you should see the following